在 WPF MVVM Application 中使用 Dependency Injection
雖然 WPF 可以寫成 MVVM 架構而不需要額外的套件,但基於我本身是 Web 開發人員,不想花太多時間研究如何建置 MVVM 架構,因此推薦使用 Microsoft 的「CommunityToolkit.Mvvm」套件來開發,有關此套件的說明可以參考「MVVM 工具組簡介」。
在 WPF 使用 Dependency Injection
App.xaml
在此設定專案使用的 DI 套件,這邊以「Microsoft.Extensions.DependencyInjection」為例 (WPF 預設沒安裝),如果有需要讀取「appsettings.json」的設定,則需要在額外安裝「Microsoft.Extensions.Configuration」及其他有用到的相關套件,此範例共裝了以下套件:
- CommunityToolkit.Mvvm。
- Microsoft.Extensions.Configuration。
- Microsoft.Extensions.Configuration.Abstractions。
- Microsoft.Extensions.Configuration.FileExtensions。
- Microsoft.Extensions.Configuration.Json。
- Microsoft.Extensions.DependencyInjection。
- Microsoft.Extensions.Options.ConfigurationExtensions。
public partial class App : Application {
    protected override void OnStartup(StartupEventArgs e) {
        IConfigurationBuilder builder = new ConfigurationBuilder()
            .SetBasePath(Directory.GetCurrentDirectory())
            .AddJsonFile("appsettings.json", optional: false, reloadOnChange: true);

        IConfiguration configuration = builder.Build();

        ServiceCollection serviceCollection = new ServiceCollection();
        ConfigureServices(serviceCollection, configuration);

        ServiceProvider serviceProvider = serviceCollection.BuildServiceProvider();

        MainWindow mainWindow = serviceProvider.GetRequiredService<MainWindow>()!;
        mainWindow.Show();
    }

    private static void ConfigureServices(IServiceCollection services, IConfiguration configuration) {
        services.Configure<AppOptions>(configuration!.GetSection("App"));
        services.AddTransient<MainWindow>();
        services.AddTransient<ViewModel>();
    }
}<Application /> 的 StartupUri 屬性用於指定應用程式啟動後要建立和顯示的第一個視窗。如果在 XAML 中指定了 StartupUri="MainWindow.xaml",WPF 框架將使用該 XAML 檔案來建立 MainWindow 類別的實例。如果在 MainWindow 中定義了帶有參數的建構函式,就會出現 "找不到相符的建構函式" 錯誤訊息。由於 MainWindow 類別現在改為使用 DI 建立,並且會建立一個包含要注入型別的建構函式,因此在 <Application /> 中指定的 StartupUri 屬性必須要移除。
<Application x:Class="TPI.Softeare.EntityGenerator.App"
             xmlns="http://schemas.microsoft.com/winfx/2006/xaml/presentation"
             xmlns:x="http://schemas.microsoft.com/winfx/2006/xaml"
             xmlns:local="clr-namespace:TPI.Softeare.EntityGenerator">
    <Application.Resources>

    </Application.Resources>
</Application>建立 WPF MVVM Application
ViewModel
建立 ViewModel 有以下注意事項:
- ViewModel 必須要繼承
ObservableObject。 - ViewModel 必須要使用
partial修飾詞宣告成 Partial Class。 - 原本預計要和前端綁定 Property,改為建立成 Field,並加上 Attribute
ObservableProperty,建議使用 Lower Camel Case(小駝峰)命名。 - 要執行的 Command Method,需加上 Attribute
RelayCommand。
public partial class ViewModel : ObservableObject {
    [ObservableProperty]
    private string? input;

    [RelayCommand]
    private void Submit() {
        MessageBox.Show("輸入值:" + Input);
        Input += "_修改";
        MessageBox.Show("變更值:" + Input);
    }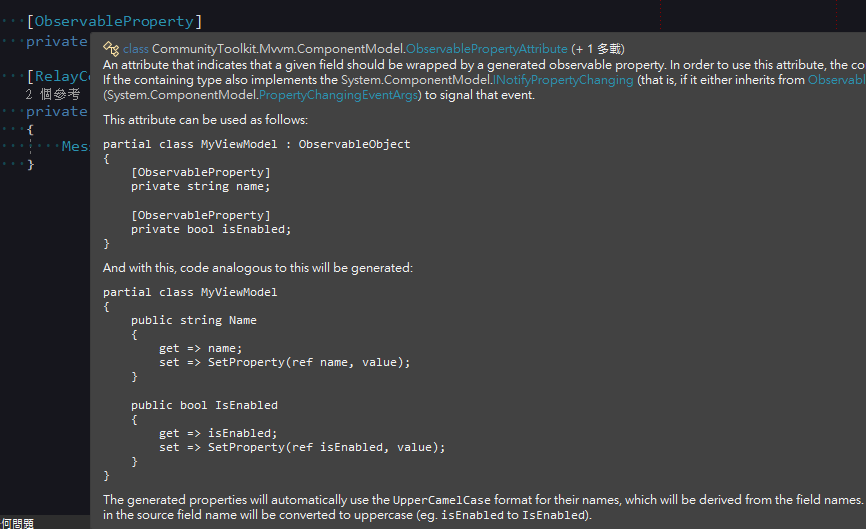
}看以上範例,可能會覺得很奇怪,明明宣告的是全小寫的 input,為什麼 Submit() 裡是使用字首大寫的 Input,如果把滑鼠移至 Attribute 上可以看到它的註解有說明會額外幫忙產生其他程式碼,這也是 class 要使用使用 partial 修飾詞的原因。
ObservableProperty 的註解說明。
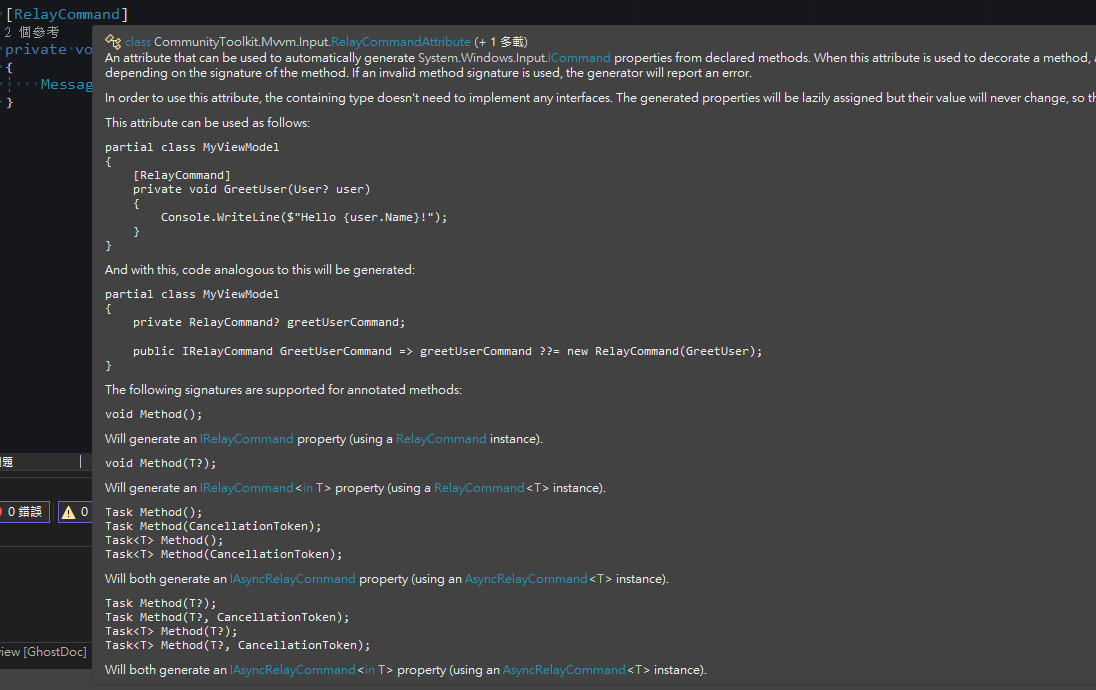
RelayCommand 的註解說明。
MainWindow.xaml
在建構函數設定 DataContext 為 ViewModel,如果有使用 DI,ViewModel 可從參數傳入。
public partial class MainWindow : Window {
    public MainWindow(ViewModel viewModel) {
        InitializeComponent();
        DataContext = viewModel;
    }
}<TextBox />使用Text="{Binding Input}"綁定顯示文字,由於實際上是綁定 Attribute 自動產生的屬性,所以是要用 Pascal Case(大駝峰)。<Button />使用Command="{Binding SubmitCommand}"綁定點擊按鈕執行的 Method,由於實際上是綁定 Attribute 自動產生的屬性,所以 Method 要加上「Command」的後綴詞。
<Window x:Class="WpfApp.MainWindow"
        xmlns="http://schemas.microsoft.com/winfx/2006/xaml/presentation"
        xmlns:x="http://schemas.microsoft.com/winfx/2006/xaml"
        xmlns:d="http://schemas.microsoft.com/expression/blend/2008"
        xmlns:mc="http://schemas.openxmlformats.org/markup-compatibility/2006"
        xmlns:local="clr-namespace:WpfApp"
        mc:Ignorable="d"
        Title="MainWindow" Height="450" Width="800">
    <Grid>
        <TextBox HorizontalAlignment="Left" Margin="100,50,0,0" TextWrapping="Wrap" VerticalAlignment="Top" Width="150" Text="{Binding Input}"/>
        <Button Content="送出" HorizontalAlignment="Left" Margin="100,100,0,0" VerticalAlignment="Top" Width="150" Command="{Binding SubmitCommand}"/>

    </Grid>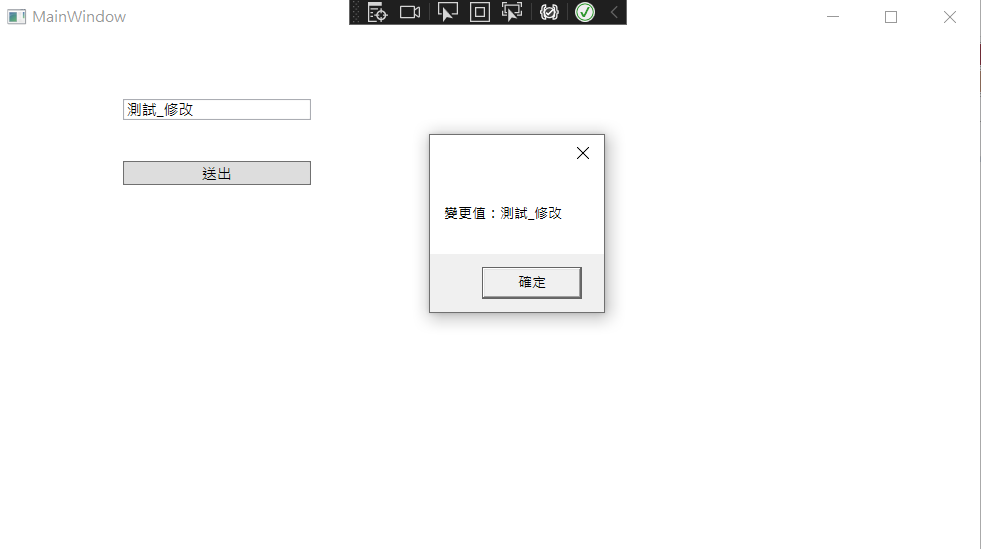
</Window>執行結果
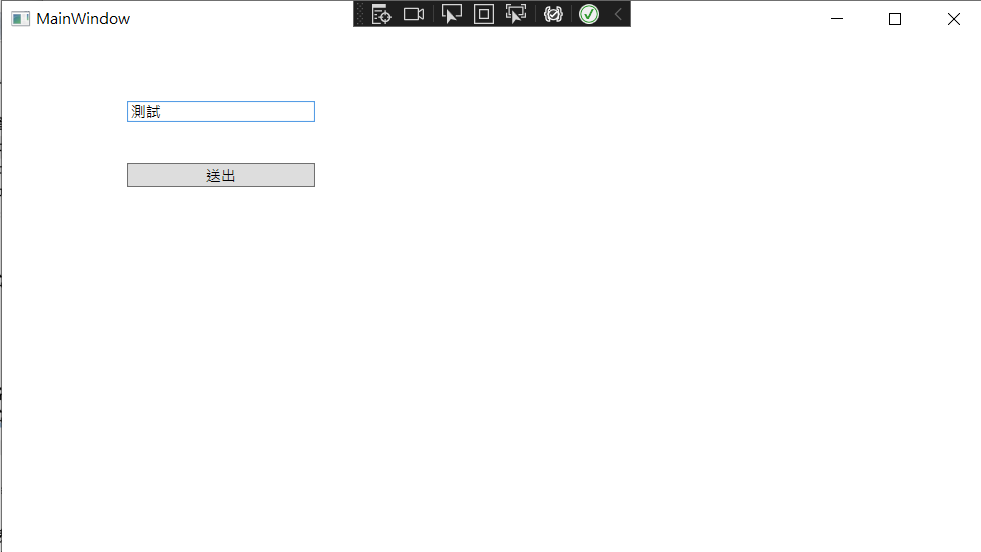
在 TextBox 填上「測試」後,點擊「送出」。
Submit() 有執行成功,且 Input 的值是我們在 TextBox 輸入的值。
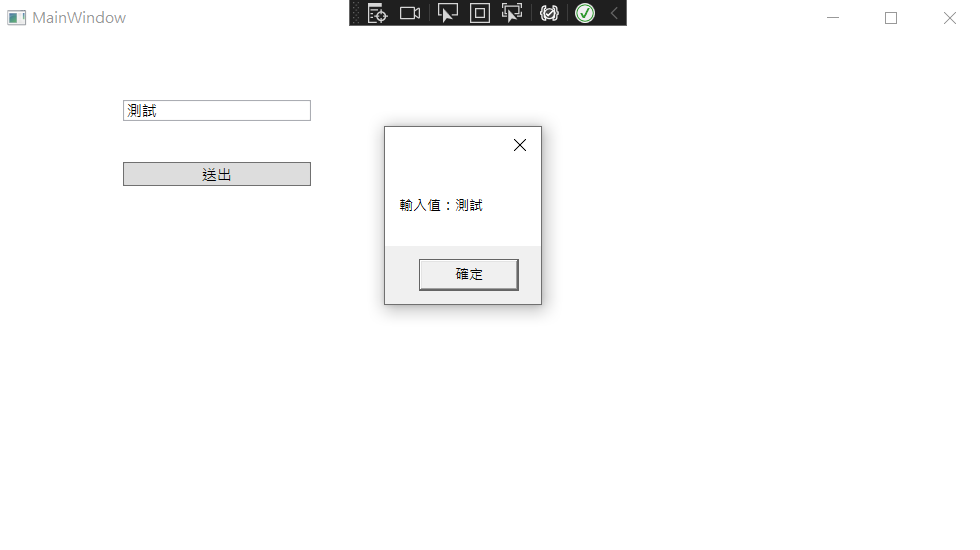
Submit() 裡更改 Input 的值,畫面上 TextBox 的內容也跟著變動。
異動歷程
- 2023-02-15 初版文件建立。